- Quick Answer
- Step 1: Confirm Site Access and Route Before Delivery
- Step 2: Plan Section Sequencing Against the Route
- Step 3: Stage Sections Along the Route
- Step 4: Assemble Connections Systematically
- Step 5: Pressure Test Before Full Production Use
- Step 6: Monitor and Adjust During Active Service
- Demobilization: Planning the Reverse Sequence
- Cleaning Before Return
- Coordinating Demobilization Timing With the Rental Agreement
- Handling Damaged Sections During Demobilization
- Building Mobilization Lessons Into Future Projects
- What to Send Anaconda for a Project Review
- Frequently Asked Questions
- Request the Right Pipe, Hose, and Fittings
Quick Answer
Verify the bill of materials and revision; survey the route; stage by installation sequence; inspect every pipe, hose, fitting, gasket, flange, bolt, valve, support, and restraint; assemble under the manufacturer and project procedure; fill, vent, test, and commission safely; then monitor the actual service. Demobilization is the same discipline in reverse, with stored-energy control and return-condition documentation.
Anaconda Pipe and Hose manufactures, distributes, sells, and rents industrial conveyance equipment. Product selection must be based on the complete system, current datasheets, actual inventory, and the responsible project engineering—not on nominal diameter or a product label alone.
Step 1: Confirm Site Access and Route Before Delivery
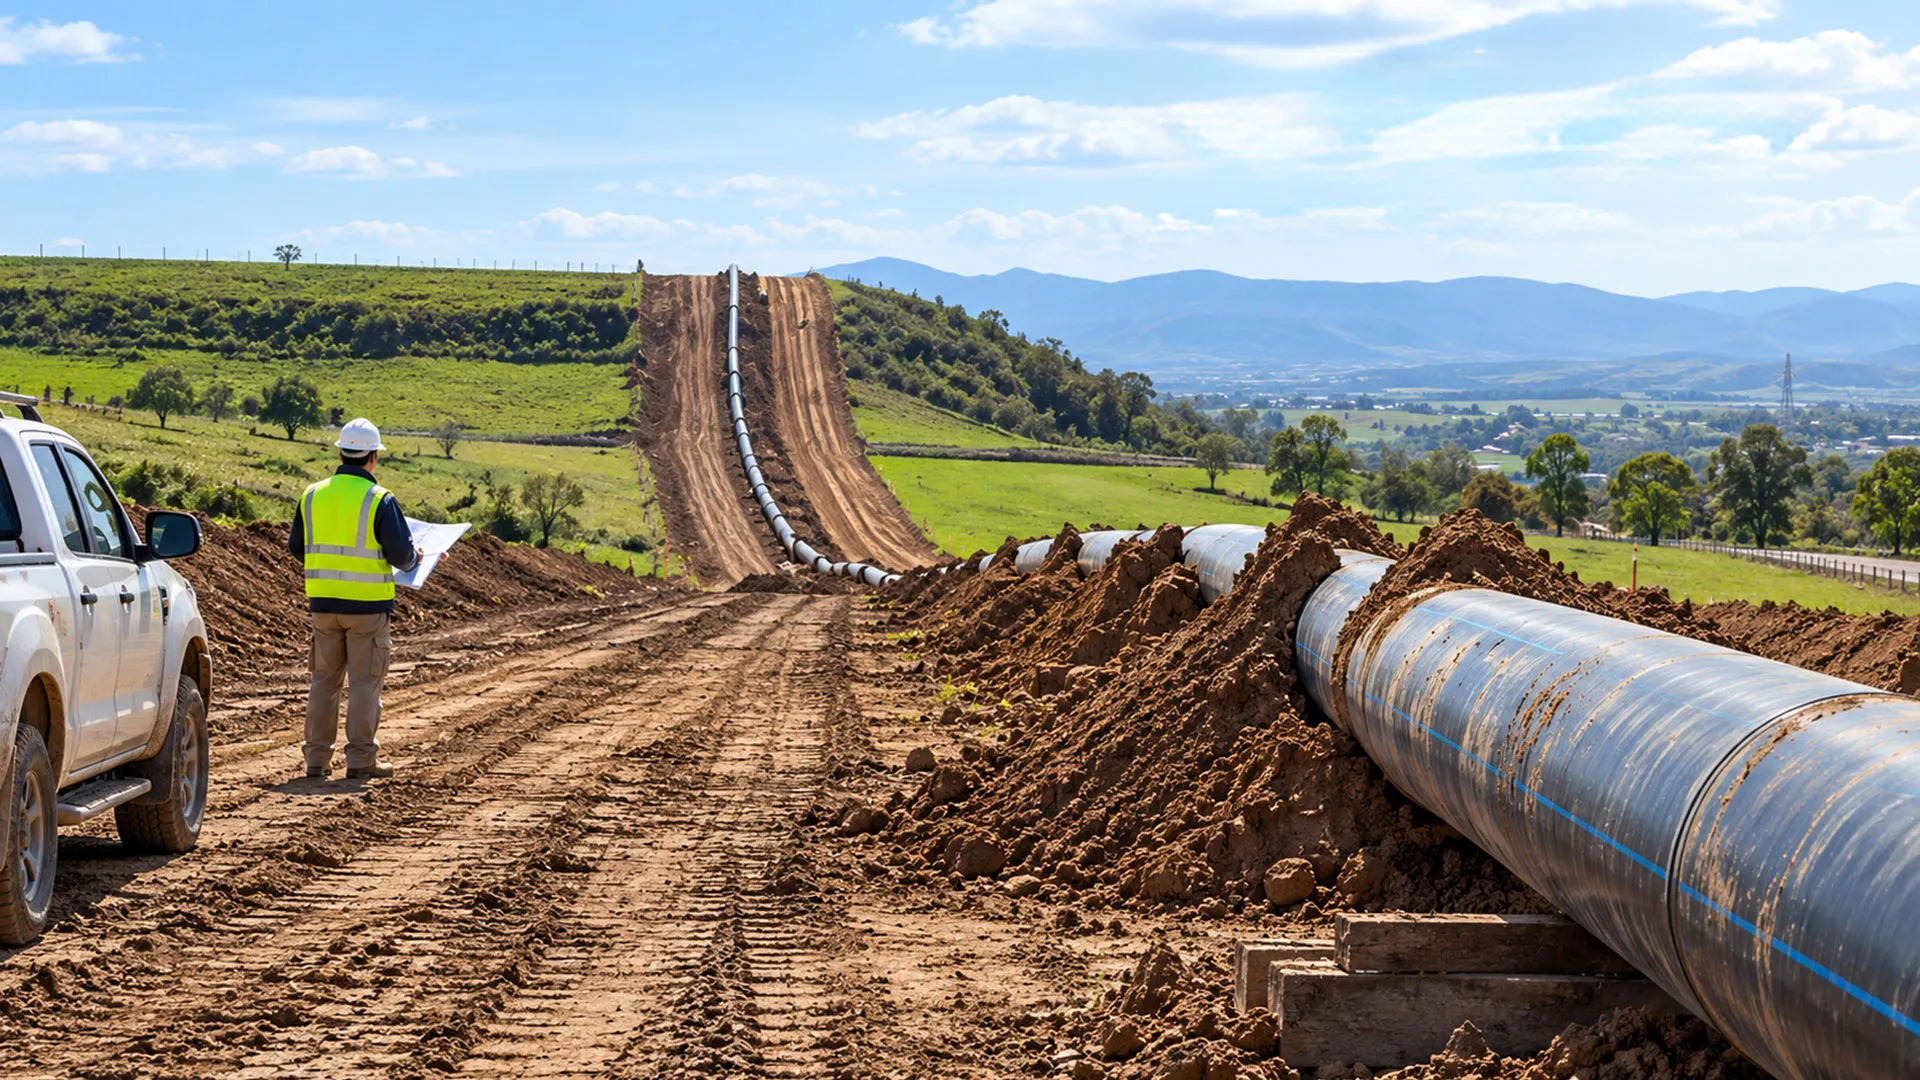
Survey truck and trailer access, turning radius, grades, bridge/road limits, ground bearing, crane/forklift setup, overhead/underground utilities, tide or water access, crossings, public/traffic zones, environmental restrictions, staging space, and weather. Confirm component weights and lift points. Do not discover that a 36-foot pipe section cannot reach the staging area after delivery.
Step 2: Plan Section Sequencing Against the Route
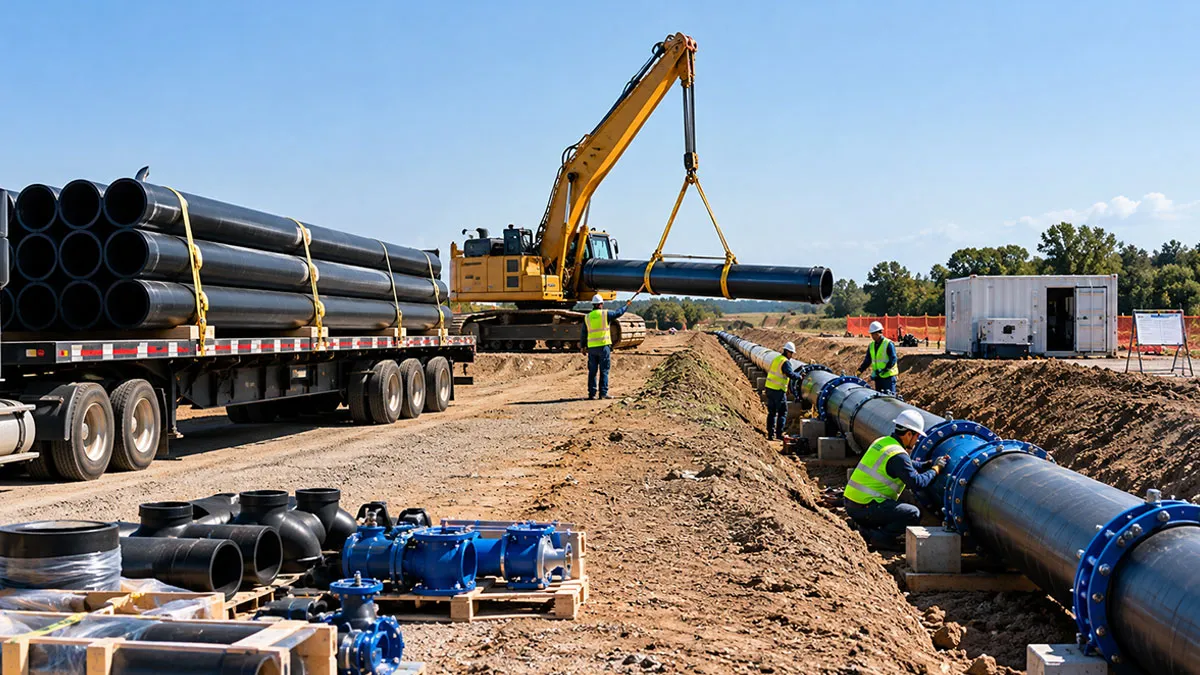
Use the approved drawing and bill of materials to sequence HDPE, hose, bends, valves, reducers, Bauer male/female ends, flanges, adapters, branches, supports, restraints, and discharge components. Mark changes in diameter, DR, connection, rating, or service. Verify the field revision and rental inventory before unloading.
Step 3: Stage Sections Along the Route
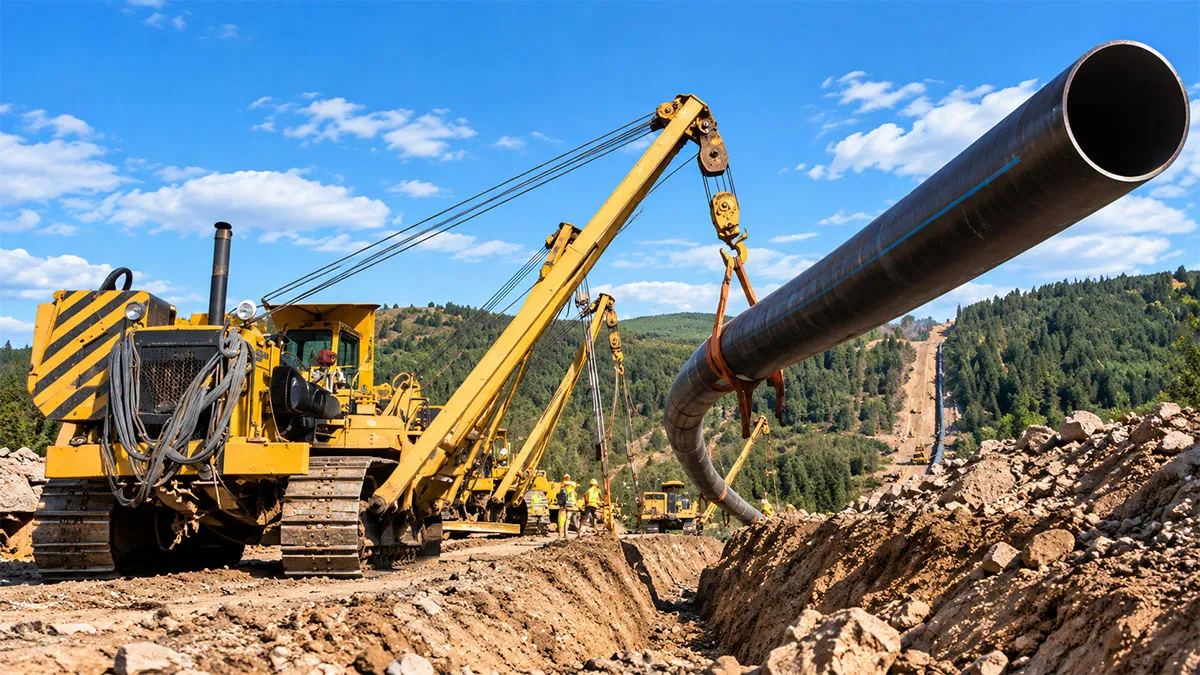
Stage on stable supports without blocking access or damaging pipe, hose, ends, gaskets, or crops/property. Chock or restrain round components, protect hose bend radius and covers, cap clean ends, separate inspected from questionable items, and maintain lifting and emergency routes. Never drag or lift components from unapproved points.
Step 4: Assemble Connections Systematically
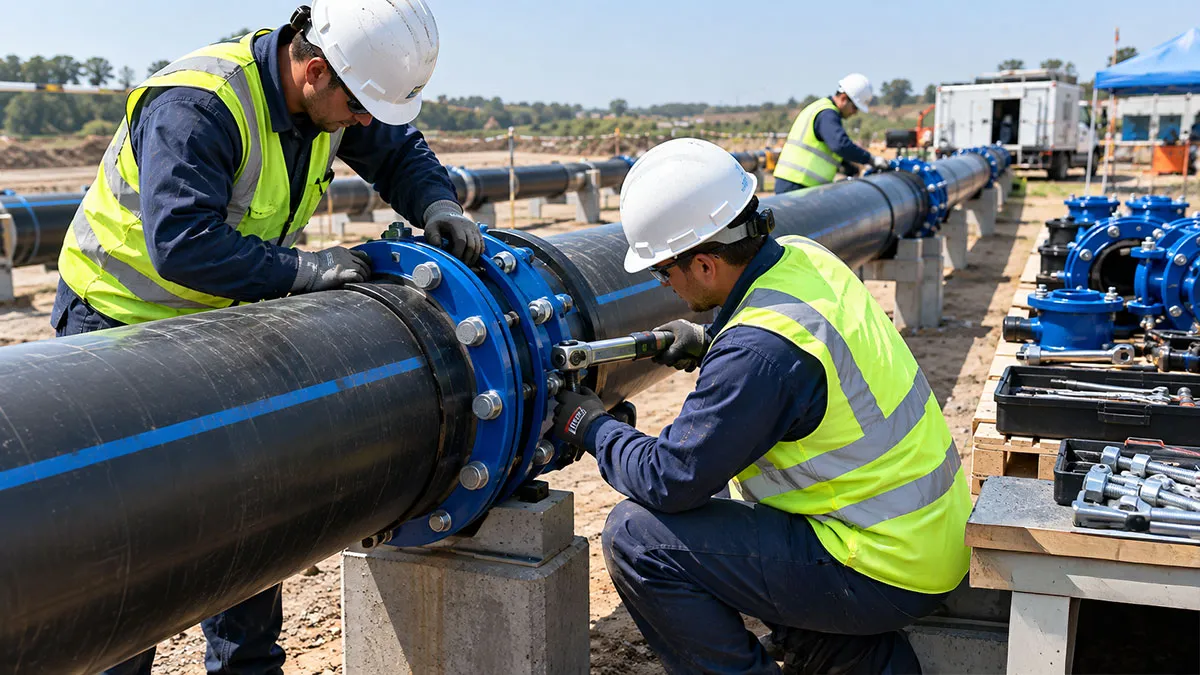
Inspect, clean, align, support, and connect each joint under the current Anaconda, component-manufacturer, and project procedure. Bauer and camlock are different systems. Use the specified gasket and lever-lock method; use the correct flange gasket, bolts, pattern, and torque procedure; and keep hose from forcing bends or side loads into fittings. Record completed sections and inspections.
Step 5: Pressure Test Before Full Production Use
Use the engineer-approved fill, vent, test, exclusion-zone, and depressurization procedure. Water is typically preferred for hydrostatic testing where appropriate, but the test medium, pressure, duration, temperature, trapped-air control, restraints, and acceptance criteria must be defined. Pneumatic testing can store far more energy and requires specialized approval and controls. Never exceed the lowest-rated component.
Step 6: Monitor and Adjust During Active Service
Monitor pressure, vacuum, flow, pump operating point, leaks, joint movement, hose bend and abrasion, pipe supports, restraints, crossings, settlement, vibration, surge, discharge condition, and weather. Stop under the approved criteria for leakage, bulging, exposed reinforcement, displaced fittings, support failure, abnormal pressure, loss of flow, or route damage. Do not adjust a pressurized joint.
Demobilization: Planning the Reverse Sequence
Demobilization deserves the same systematic approach as mobilization—working through disconnection in a planned sequence rather than haphazardly, inspecting each section and connection point during breakdown (not just at final return), and documenting condition as sections come apart. This documentation matters directly for rental settlement, since it creates a contemporaneous record of condition rather than relying purely on the rental company’s assessment at return.
Cleaning Before Return
Isolate, depressurize, drain, flush, clean, and decontaminate according to the conveyed media, permits, disposal plan, manufacturer instructions, and rental agreement. Potable water, wastewater, chemicals, manure, sludge, slurry, and fuel require different controls. Cap cleaned ends and prevent residual material from leaking during transport.
Coordinating Demobilization Timing With the Rental Agreement
Rental billing typically runs on the actual return date, meaning demobilization delays—waiting on transport logistics, or a project running longer than originally scheduled—extend rental cost even after productive use of the pipe or hose has ended. Planning demobilization logistics (transport availability, crew scheduling) with enough lead time to execute promptly once a project’s active use of the line concludes avoids unnecessary extended rental cost from demobilization delays that could have been anticipated and planned around.
Handling Damaged Sections During Demobilization
Tag and segregate damaged or questionable sections; photograph condition and location; document service, event, and observed defect; and notify Anaconda promptly. Do not hide damage, return contaminated components as clean, make unapproved field repairs, or mix rejected items back into inspected inventory.
Building Mobilization Lessons Into Future Projects
Contractors running recurring rental projects benefit from capturing mobilization and demobilization lessons from each project—what access constraints were discovered, what sequencing worked well, what connection issues arose—into a standing reference for future projects, rather than relearning the same lessons project after project. This kind of institutional knowledge capture is a low-cost practice that compounds in value across a contractor’s ongoing rental relationship with a supplier.
What to Send Anaconda for a Project Review
- Approved drawings, bill of materials, revisions, pipe/hose/fitting schedule, weights, lift points, section sequence, end orientation, adapters, gaskets, bolts, valves, supports, restraints, and spares
- Site survey: delivery route, truck/crane/forklift access, ground bearing, staging, slopes, crossings, traffic/public zones, water, environmental restrictions, weather, work hours, and security
- Assembly and safety: competent crew, JHA, lifting plan, line-of-fire controls, manufacturer procedures, required tools, alignment, flange torque, Bauer locking, grounding/bonding where required, and communications
- Commissioning: isolation, filling, venting, leak/pressure test, pressure/vacuum limits, pump controls, surge plan, discharge controls, acceptance criteria, inspection interval, and emergency shutdown
- Demobilization: shutdown, depressurization, drainage, cleaning/decontamination, residual-material disposal, damage/wear documentation, packing, pickup, return date, freight, and rental-agreement requirements
Frequently Asked Questions
When should mobilization planning begin?
Before shipment. Route, access, component weights, lift equipment, sequence, fittings, supports, testing, and the approved drawing must be resolved first.
Can crews connect Bauer pipe without tools?
Do not assume that. Basic hand tools, alignment, lifting, support, inspection, and testing equipment may be required.
Should every temporary pipeline be pressure tested?
Use the responsible engineer, code, manufacturer, owner, and rental requirements. Define test medium, pressure, duration, restraints, trapped-air controls, exclusion zone, and acceptance criteria.
Can a leaking joint be tightened while operating?
No. Follow the approved shutdown, isolation, depressurization, drainage, inspection, and repair procedure.
What condition documentation should be kept?
Delivery counts and photos, inspection records, test results, operating events, wear/damage, cleaning/decontamination, missing components, pickup, and return acceptance.
Request the Right Pipe, Hose, and Fittings
Send Anaconda the media, required flow, pump and pressure data, route/elevation, product and fitting requirements, operating cases, rental or purchase preference, quantity, site access, delivery location, and schedule. The team can review current inventory and configure the pipe, hose, connections, adapters, spares, freight, and quote for the project.
Request a Quote or call (619) 201-8311.
0 Comments